FITT RAIN C140

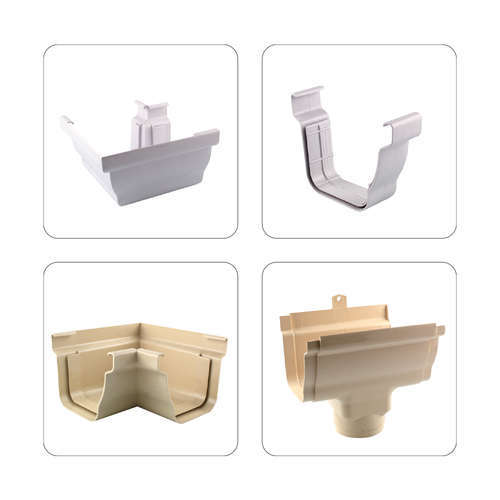
FITT’s C140 rainwater system is complete, easy adaptable to all sizes of villas and agro-industrial buildings, and user friendly to be assembled. It is available in the glued version.


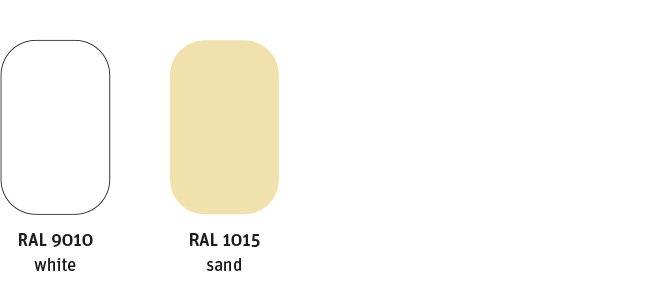
Colors do not exactly coincide with RAL System, but an attempt has been made to reproduce the most similar colors

FITT RAIN C140

FITT RAIN C140 SYSTEM PLUS

FITTING SYSTEMS

The FITT RAIN C140 gutter system is a complete and easy to assemble system.

The assembly of the components of the range is available in the glued version.

ADJUSTABLE BEND 22° - 87°

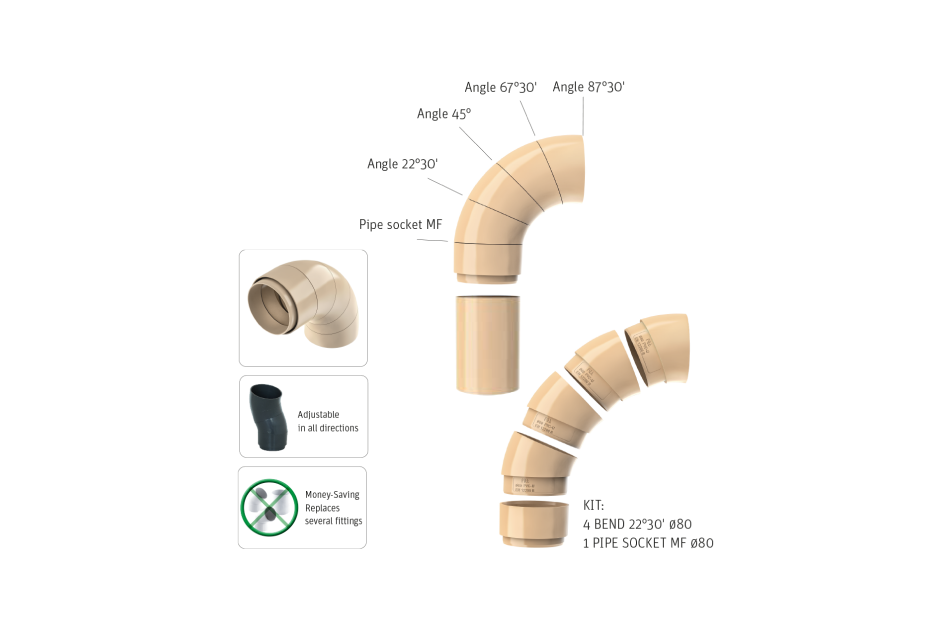
The adjustable bend allows to create different bends, since it is adjustable in all directions.

It replaces several fittings, thus ensures money saving for the end user.

ADJUSTABLE BEND 22° - 87°
WAVE ROOF FIXING

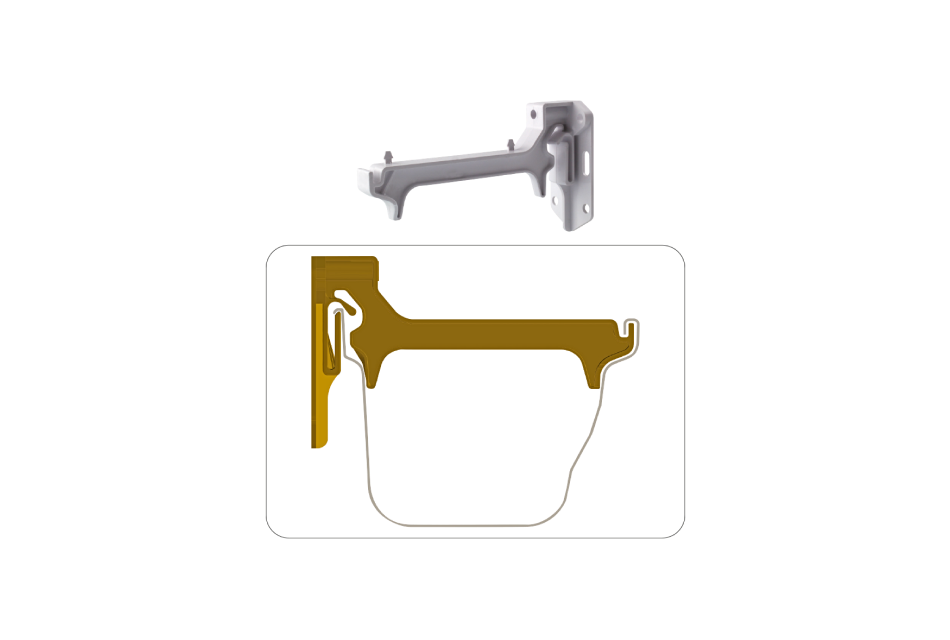
Functionality and aesthetics: the hidden support system of the gutter channel is invisible from below, allowing you to fully appreciate the finishes in the various shades without interrupting the purity of the lines.

WAVE ROOF FIXING
1
Attach the support brackets, while descending 3 mm in the direction of the drain-pipes.
2
It is necessary to connect the highest and the lowest support brackets with a string, thanks to which it will be possible to place the remaining support brackets at the correct height. PVC hooks should be assembled max. every 40 cm.
3
Saw the gutters with a hacksaw to the necessary lenght.
4
Place the gutters on the support brackets. Then click the gutter in the support brackets.
5
Elements such as the central drain funnel, left hopper, right funnel and connector have their own additional mounting, thanks to which the system is stable. With these elements hooks should be mounted at a distance of not more than 15 cm.
6
If the downpipe is provided at the end of the building, we can use a left or right drain funnel with an integral bottom. Install the connectors and the outlets while descending 3 mm.
7
Connect the gutter sections using connectors. The length of individual sections of gutters between elements is trimmed so that the ends of the gutters reach the dotted line marked on the connector as "limit position".
8
At the ends of the gutters, install the bottom using PVC glue. Fittings with rubber joint does not require the use of glue.
9
In the case of a roof with eaves, the connection of a drainpipe with a downpipe should be made using knees of 45˚or 67˚and cut to the appropriate length of the drain pipe.
10
Install the corners on the gutter. It is necessary to jam the corner on the gutter on one side and then on the other. The distance between the support brackets and the edge of the corners should not exceed 15 cm.
11
Attach the fixo clamps to the wall. Depending on your needs, use screws with a length of 7, 14 or 22 cm. The clamps in the downpipes are mounted approx. 2 m away.
12
Place the drain tube in the clamps. The drain pipes are finished with a chalice allowing them to be joined together without the use of a sleeve. Leave approx. 5 mm clearance in the connection between the pipes.
13
Depending on the needs, mount the tee, mounting it to the wall with the help of fixo clamps. Provide approx. 5 mm clearance.
14
Install the elbow as the outlet of the downpipe. The minimum distance of the knee from the ground should be 20 cm.